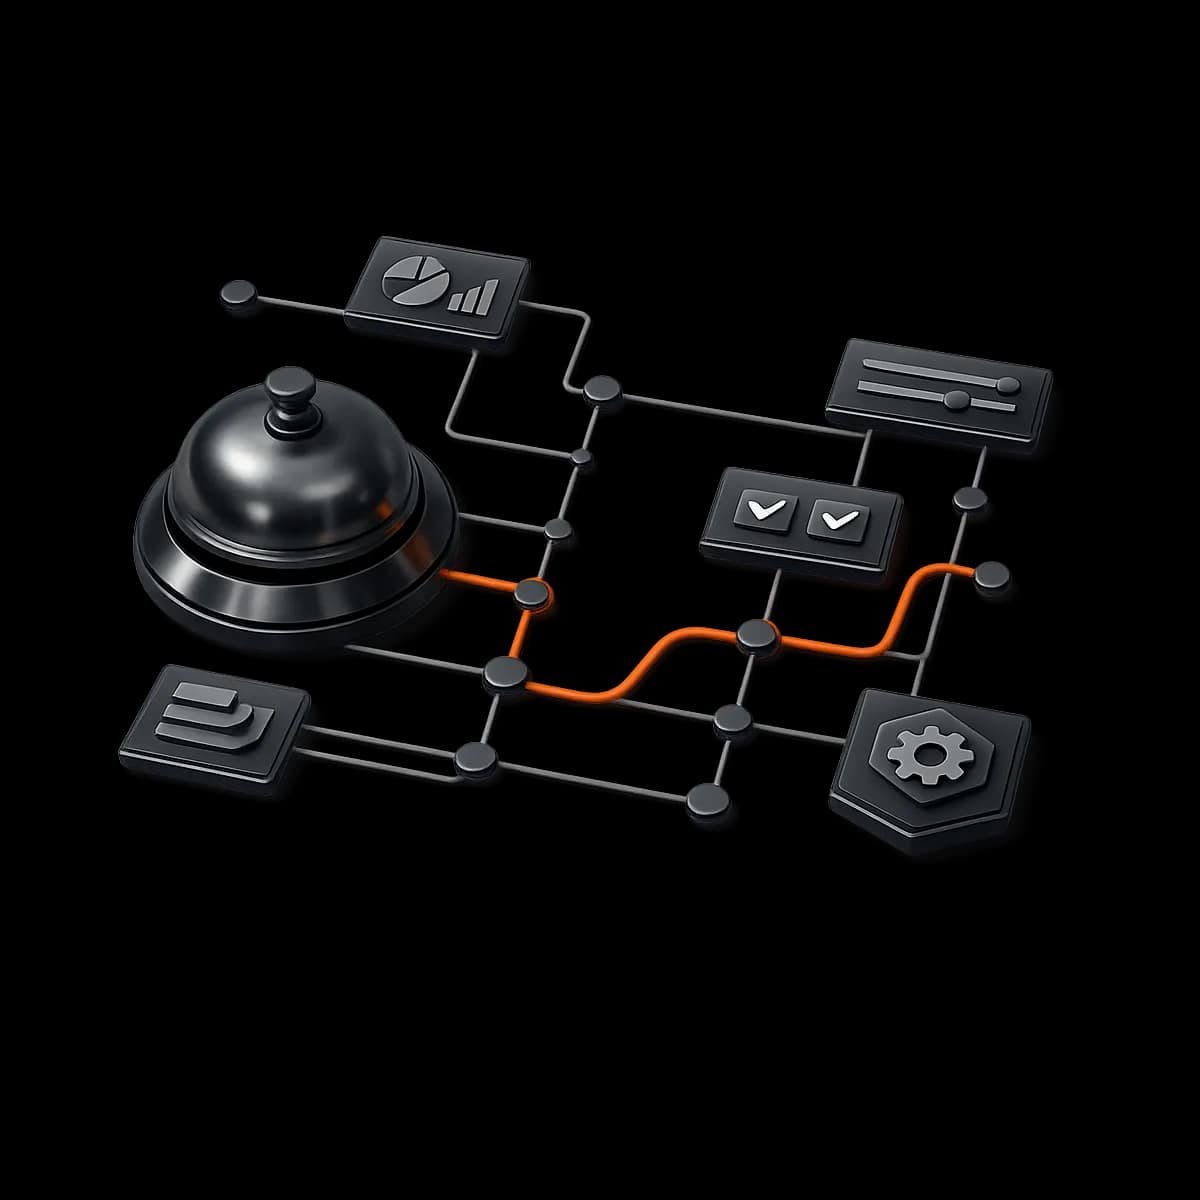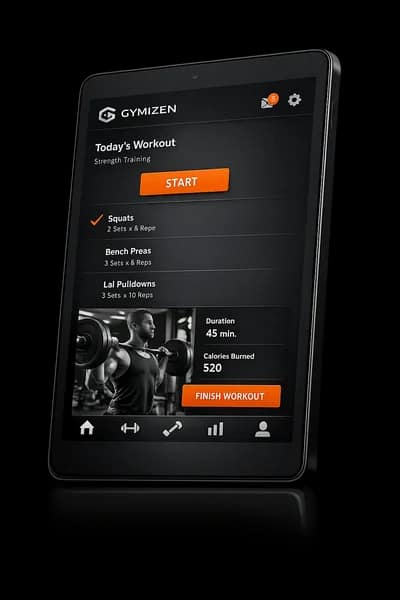


Automations are how Gymizen turns “we should follow up” into “it’s already queued, assigned, and tracked.” But in boutique fitness, automation without control becomes noise: accidental messages, policy drift, inconsistent exceptions, and team distrust. This guide walks you through a 14-day rollout of approval-gated automations—so you get proactive retention and cleaner front-desk operations without the risk of misfires.
What you’ll build (and why it matters)
By the end of this rollout, your team will have a small set of automations that are intentionally boring: predictable triggers, consistent logic, and a clear approval path when something is sensitive. In practice, that means:
- Fewer missed follow-ups (new leads, trials, at-risk members) because tasks are created automatically.
- Fewer “oops” messages because outbound comms are held behind approvals (or limited to safe templates).
- Cleaner handoffs between owners/managers, front desk, and coaches via assigned work queues.
- Higher retention leverage because proactive outreach happens at the right time—without discounting or chaos.
- Auditability because you can review what happened, who approved it, and what changed.
Who this is for (and when to use it)
This rollout is designed for owners and managers of CrossFit gyms, yoga studios, pilates studios, martial arts schools, and boxing gyms who want automation that supports an operator-led business—not a set-it-and-forget-it marketing machine.
- Use this guide if you’re new to Gymizen or if you have a clean workspace and want to introduce automations safely.
- Use this guide if you already have automations but you’re seeing duplicate outreach, inconsistent exceptions, or team hesitation to trust “the system.”
- Don’t start here if you haven’t finalized member lifecycle definitions (statuses/tags) or your billing/policy rules. Automations amplify whatever logic you put in.
Prerequisites (complete before Day 1)
Approval-gated automation relies on clean segmentation and clear permissions. Before you configure anything, make sure you have these basics in place.
- Workspace foundations: locations, services/programs, schedules, and your core settings are stable.
- Staff roles and permissions: you know who can approve sensitive actions (credits, policy exceptions, manual status changes, outbound templates).
- Lifecycle segmentation: you’ve defined statuses/tags like Lead, Trial, Active, At-Risk, Frozen/Hold, Cancelled, and any “do-not-contact” rules.
- Messaging channels: you’ve confirmed what your members expect (email vs SMS vs in-app) and what your compliance rules require.
- A single owner for automation: one person is accountable for the logic, QA, and change control (usually the GM or Ops Manager).
Implementation principle: Start with task automation first (safe). Add message automation second (riskier). Add policy/financial automation last (highest risk).
Define your “Approval Gate” standard (before you build anything)
In Gymizen, an approval gate is your internal control point: automations can create drafts, queue tasks, or prepare actions that require a human to approve before they execute. To avoid ambiguity, define these standards up front:
- What always requires approval: anything that changes money, credits, membership terms, freezes/holds exceptions, or sends “sensitive” language (billing, policy warnings, cancellations).
- What never requires approval: internal task creation (e.g., “Call this lead,” “Review attendance trend”) and internal notes.
- What is conditional: member messages that are helpful and low-risk (welcome info, “here’s how to book”), which can be auto-sent only if a member is in the right segment and has not opted out.
- Who can approve: name the role(s) (Owner/GM) and create a backup approver for weekends or travel.
- How approvals are reviewed: daily queue (front desk) vs scheduled review block (manager). Approvals die when they live “somewhere we’ll remember later.”
Recommended defaults (keep your first rollout simple)
These defaults are intentionally conservative. You can loosen them later when your team trusts the system.
- Default automation action: create an internal task + assign it (don’t auto-message on day one).
- Task due dates: same-day for leads and no-shows; next-business-day for at-risk follow-ups; 72 hours for “nice-to-have” check-ins.
- Owner/Manager-only approvals: anything related to billing, exceptions, cancellations, holds, credits.
- Front desk scope: can complete tasks, log outcomes, and escalate for approval—but can’t change policy outcomes.
- Coach scope: can be assigned tasks that require relationship context (e.g., “reach out to a member who missed 7 days”) but should not be responsible for policy enforcement messaging.
- Quiet hours: set messaging windows so nothing sends at weird times (especially for SMS).
14-day rollout plan (configuration + training + QA)
This timeline assumes you’re implementing while the business is operating (classes running, staff rotating). If you’re migrating systems at the same time, extend each phase and add extra QA time.
Days 1–2: Map your workflows (one page, no exceptions… yet)
Your goal is to document the minimum viable workflow for each automation. Do not start with edge cases. Edge cases are where approval gates belong.
- Pick 4 starter automations (recommended set below).
- For each, write: Trigger → Segment rules → Action → Owner → Approval?
- Define the completion outcome options staff will log (e.g., Contacted, Left voicemail, Booked consult, Needs manager).
- Define the stop conditions (e.g., if a member books, pays, replies, or changes status, the workflow stops).
Recommended starter set (operator-led, low risk):
- Lead follow-up task (new lead inquiry → task assigned to front desk within 10 minutes).
- Trial no-show recovery task (trial booked but didn’t attend → same-day task).
- At-risk attendance check (active member with X days no attendance → task assigned to coach or GM).
- Payment issue escalation (billing failure → internal task + manager approval gate before any policy warning message).
Days 3–4: Configure roles, queues, and approval ownership
Automations fail when there’s no clear “inbox.” Before you turn on triggers, set up the human system that will receive them.
- Create/confirm staff roles (Owner/GM, Ops Manager, Front Desk, Coach).
- Assign approvers for sensitive workflows and name a backup approver.
- Define your queues: Front Desk Queue (same-day), Manager Queue (approvals + escalations), Coach Queue (relationship outreach).
- Set coverage windows: who “owns” the queue mornings, afternoons, weekends.
If a task can be generated automatically but no one is accountable to clear the queue daily, it will become background noise. Your rollout is only as strong as your queue ownership.
Days 5–6: Build Automation #1 and #2 (task-only, no outbound messaging)
Start with tasks because they’re reversible and teach your team the rhythm: receive → act → log outcome → close loop.
Automation #1: Lead follow-up task
- Trigger: new lead created (web form, call entry, imported lead list).
- Rules: exclude “Do Not Contact” and exclude leads already assigned to a sales consult workflow.
- Action: create a task assigned to Front Desk Queue; due in 10–60 minutes.
- Outcome logging: Contacted, Left message, Booked intro, Not reachable, Escalate.
- Stop conditions: intro booked; lead converted; lead marked inactive.
Automation #2: Trial no-show recovery task
- Trigger: trial reservation marked no-show (or attendance not recorded by cutoff time).
- Rules: only for first-time trials; exclude members who already rebooked.
- Action: create a same-day task assigned to Front Desk Queue.
- Outcome logging: Rebooked, Needs different time, Not interested, Wrong contact info, Escalate.
- Stop conditions: trial rebooked; lead becomes paid; lead opts out.
Day 7: QA day (simulate real life before staff sees it)
Before you involve the whole team, run a controlled test with 5–10 fake scenarios (or a small internal list). Your goal is to verify that triggers fire correctly and stop correctly.
- Trigger accuracy: tasks are created when expected, not delayed, and not duplicated.
- Assignment accuracy: tasks land in the right queue/person.
- Stop conditions: tasks stop generating when the member rebooks, buys, or changes status.
- Edge-case safety: “Do Not Contact” prevents any outreach-related tasks/messages.
- Reporting visibility: you can see open tasks, overdue tasks, and completion outcomes.
Days 8–9: Train front desk + managers (30 minutes + live reps)
Training should be short, practical, and role-specific. The goal is not to explain every feature—it’s to create consistent execution.
Front desk training agenda (30 minutes):
- Where the queue lives and when it must be checked (opening, mid-shift, closing).
- How to open a task, contact the member, and log the outcome.
- What “Escalate” means (and what details must be included).
- What not to do: changing statuses/tags to “make the task go away.”
Manager training agenda (30 minutes):
- How to review queue health (open vs overdue; outcomes).
- How to coach quality: what “good notes” look like.
- How to change workflow logic safely (one change at a time; document; QA after).
Days 10–11: Build Automation #3 (at-risk attendance) + add an approval gate for exceptions
Now you’ll introduce retention-facing automation. This is where approval gates matter most—not because outreach is bad, but because your team needs a safe way to handle nuance (injury weeks, travel, life events, “they told us they’re pausing but didn’t freeze yet”).
Automation #3: At-risk attendance check (task + escalation path)
- Trigger: active member hits X days since last visit (choose one threshold to start—commonly 7 or 10 days).
- Rules: exclude members on hold/freeze; exclude anyone tagged “Injury/Medical” if you use that tag; exclude “Do Not Contact.”
- Action: create a task assigned to Coach Queue (if relationship-led) or Manager Queue (if ops-led). Due next business day.
- Outcome logging: Booked class, Needs schedule help, Injury/travel, Considering cancel, No response.
- Approval gate (exceptions): if outcome is “Considering cancel” or “Policy request,” require manager review before any policy or billing message is sent.
- Stop conditions: member attends a class; member replies; status changes to Hold/Frozen; member cancels.
Recommended default: Keep the first version as task-only. If you later add messaging, do it as “draft message requires approval,” not “auto-send.”
Day 12: Build Automation #4 (payment issue escalation) with strict approvals
Billing-related workflows are where studios accidentally create churn with poorly timed or harsh messaging. In an operator-led system, the automation should surface the issue quickly while keeping tone and exceptions under human control.
Automation #4: Payment issue escalation (internal task + approval-gated messaging)
- Trigger: payment failure / billing issue event.
- Rules: exclude members already in an active billing resolution workflow; exclude anyone with a manager-approved grace period tag (if you use one).
- Action 1: create an internal task assigned to Manager Queue (due same day).
- Action 2: prepare a member-facing message as a draft that requires approval before sending (tone + policy consistency).
- Approval: Owner/GM only.
- Stop conditions: payment method updated; invoice paid; manager marks resolved; member placed on hold per policy.
Day 13: Launch week rules (change control + “one lever at a time”)
The biggest risk in week one is “tuning” too much and losing confidence in what caused what. Lock your initial release with simple change control:
- No new automations for 7 days after go-live (only fixes).
- No copy edits to member-facing templates without manager review (small wording changes can create big tone shifts).
- One rules change at a time (e.g., change the at-risk threshold from 7 to 10 days, then wait a week).
- Daily queue review for the first week (10 minutes): open tasks, overdue tasks, escalations waiting approval.
Day 14: Success review + tighten approvals (don’t loosen them yet)
At two weeks, your goal is not “perfect automation.” Your goal is trusted automation. Review performance, identify friction points, and refine outcomes/notes—not just triggers.
- Are tasks being completed on time? If not, is the issue volume, assignment, or unclear due dates?
- Are staff logging outcomes consistently (so you can learn what works)?
- Are approvals being reviewed daily (so nothing stalls)?
- Did any automation create duplicates? If yes, which stop condition failed?
- Did any member express confusion or frustration? If yes, which template or timing triggered it?
Role-by-role responsibilities (what “good” looks like)
Approval-gated systems work when each role knows what they own—and what they don’t.
Owner / GM
- Owns the policy boundary: what’s approved, what’s never approved, and what requires a conversation.
- Approves sensitive messages/actions daily (billing/policy, exception handling).
- Reviews weekly automation performance and decides whether to expand scope.
Ops Manager / Studio Manager
- Owns workflow integrity: triggers, stop conditions, queue health.
- Runs QA after any change and documents what changed and why.
- Coaches the team on note quality and outcome consistency.
Front Desk
- Clears the same-day queue: leads, trial recovery, basic member support tasks.
- Logs outcomes and adds concise notes that help managers and coaches act.
- Escalates anything that touches policy, credits, billing exceptions, or member conflict.
Coaches
- Handles relationship-based outreach tasks (at-risk, re-engagement, goal check-ins).
- Logs human context (injury, travel, motivation dip) so ops can apply policy with empathy.
- Does not improvise policy messaging—routes exceptions through approvals.
Common mistakes (and how to avoid them)
- Mistake: Turning on auto-sending messages first.<br/>Fix: Start with tasks; then drafts requiring approval; only then consider safe auto-sends.
- Mistake: Too many triggers (every behavior creates a task).<br/>Fix: Start with 4 workflows max; if the queue grows, narrow segments or increase thresholds.
- Mistake: No stop conditions (tasks keep generating forever).<br/>Fix: Define “done” events (booked, attended, replied, status changed) for every automation.
- Mistake: Approvals exist but no one checks them.<br/>Fix: Put approval review into a daily manager block (10 minutes) and define a backup approver.
- Mistake: Staff changing tags/statuses to avoid work.<br/>Fix: lock down permissions and train “complete the task, log the outcome, escalate if needed.”
- Mistake: Mixing retention and revenue language in templates.<br/>Fix: separate “helpful check-in” messaging from “billing/policy” messaging, and require approvals for the latter.
Operating cadence after launch (so it stays operator-led)
Automations don’t replace management—they create a consistent operating rhythm. Here’s the cadence that keeps the system healthy.
- Clear same-day tasks and log outcomes.
- Escalate anything sensitive; don’t “solve” policy in the moment.
- Review approvals waiting; approve/decline with a note.
- Scan overdue tasks; reassign if needed.
- Review outcomes: which workflows drove bookings, saves, or conversions?
- Spot-check notes for quality and consistency.
- Decide one improvement to test next week (threshold, assignment, template, or new stop condition).
What success should look like in Gymizen (2–6 weeks after rollout)
You’ll know your approval-gated automation rollout is working when the system feels calmer—not busier.
- Front desk checks the queue without being reminded.
- Managers review approvals daily and there’s no backlog.
- Tasks have consistent outcomes (not random notes that can’t be reported).
- Coaches see at-risk outreach as part of the job, not an awkward extra.
- Fewer missed lead follow-ups; faster response times.
- Trial no-show recovery happens same day (not “we’ll try next week”).
- At-risk members receive human outreach before they disappear.
- Billing issues are surfaced immediately, with consistent tone and manager-controlled exceptions.
- Staff stops saying: “Is the system going to message them?”
- Owners stop fearing that automation will create churn.
- Approvals become a normal control—not a bottleneck.
Next steps: expand safely (the right order)
Once your first four workflows are stable for 2–4 weeks, expand in this order to keep risk low and retention leverage high:
- Add one new task-based workflow (e.g., new member onboarding check-in, milestone celebration, attendance streak recognition).
- Add approval-gated draft messages for high-sensitivity moments (billing/policy).
- Add “safe” auto-sends only for low-risk, purely informational templates (and only with opt-out respected).
- Formalize a monthly automation review: retire what’s noisy, double down on what converts, and keep your approval gates tight where it matters.
If you want a broader rollout structure (beyond automations), use the resources below to align onboarding, segmentation, and reporting so your automations operate on clean inputs and produce measurable outcomes.